The Doctor’s curious, that means we stay.
Barbara Wright
Synopsis
When the TARDIS jumps a time track and lands on the planet Xeros, the travellers are given a glimpse of their own future in which they are fated to become exhibits in a museum.
Review
The Space Museum is perhaps a perfect dichotomy of some of early Doctor Who – some good ideas that somehow get muddied and indeed muddled, culminating in the TARDIS team encouraging yet another set of downtrodden locals to rise up against an oppressive occupier.

I really enjoy the first part of this story, which has a really interesting concept and is an example of the show playing around with the time travel element of the show by having the TARDIS skip a time track and end up in an alternative timeline. It adds a particularly interesting atmosphere to the usual first part of an early Doctor Who serial, where the action is usually focused on the Doctor and his companions with few other characters featuring. Here, we see other characters, however, due to the time anomaly, the TARDIS team are unable to interact with any of their surroundings or people, and the realisation that their future selves are exhibits in the museum. The cliffhanger that the two time streams have synchronised and the Doctor, Ian, Barbara and Vicki are now in danger should have led to a tense and action-packed story.
They’ve gone.
Yes, my dear, And we’ve arrived.
Barbara Wright and the First Doctor
Instead, the story stumbles into a slow and plodding story, especially in the second and third installments. The story falls into the usual tropes of capture – escape – recapture a bit too easily and the lack of any memorable guest characters amongst either the Xerons or the Moroks does make this feel a lot longer than four parts. The revolution of the Xerons against the Moroks does not feel at all earned – both sides seem like such pencil sketched figures – and whilst of course it is good to see the inhabitants regain control of their planet, the way this is portrayed just does not work.
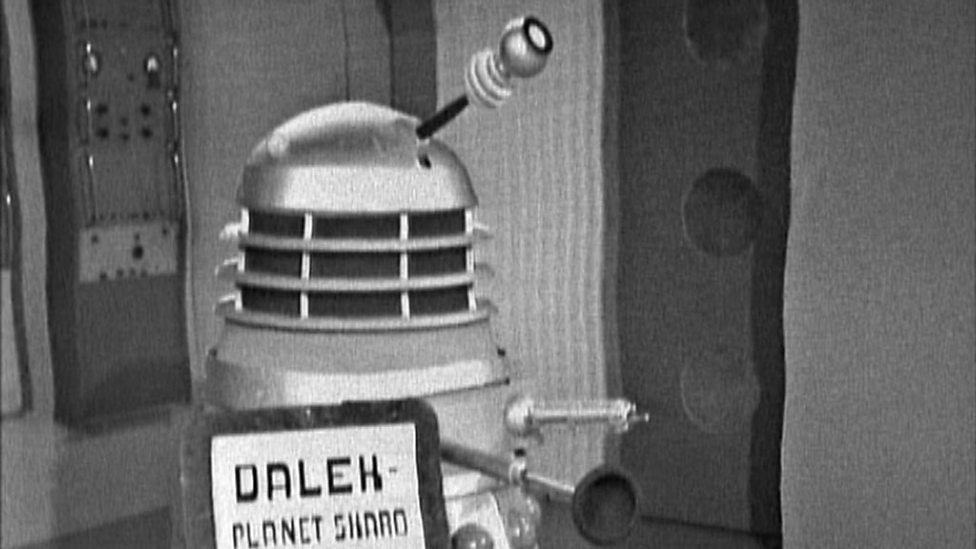
Both alien races are pretty bland and unmemorable and perhaps betray the lack of budget – widow’s peaks and eyebrows are possibly the best way to describe them. We are not given any real reason to fear the Moroks other than their ability to freeze our heroes in time, despite the fact that they (or other members of their race) have managed to capture a Dalek casing. It is that Dalek casing that interests me and must have come as a shock to those watching this on broadcast, not knowing that the Daleks would be coming back in the very next serial and seeing this casing would have probably inspired the same reaction as it does in our four leads. This is perhaps the biggest example of the show recognising what a breakout hit the Daleks were – we do not, for instance, get a Zarbi in this museum, which in the modern show would be seen as an opportunity to hide as many Easter Eggs on screen as possible. The cameo here is also a sly hint as to what’s to come at the end of this story, whetting the audience’s anticipation for the Daleks second appearance in the space of a season.
William Hartnell is at the height of his powers here, despite some of his line fluffs – but they aren’t exclusive to him for a change! As we learn later, the Doctor loves museums (they allow him to keep score) and he holds court here and is particularly effective in his scene with Lobos, where he manages to delay him for as long as possible, showing him images of a penny-farthing when asked how he got to the planet, which is an all too rare moment of humour. It says something when I notice the absence of Hartnell when he is on holiday, as usually the story manages to cover adequately enough, but here I felt it was painfully obvious as to why the Doctor wasn’t there.
I think that all three companions are poorly served here, but especially Jacqueline Hill as Barbara. I can’t really think of anything notable that she does here, and that might be down to the fact that the character has run her course before her penultimate story. This, and the underuse of William Russell are perhaps symptomatic of the show wanting to tread water until they can get to the pair’s last story. Ian gets fights to be involved in, but that’s nothing new for the character, who has since the beginning of the show been there to do the bits that William Hartnell’s Doctor can’t or won’t do. Maureen O’Brien gets a bit more to do here and her speech about the importance of the Xerons rising up against the Moroks is good, but it’s really the only thing I can remember her doing.
Verdict: This has a great idea and feels really innovative in its first part, but falters later on. I loved some of the ideas at the beginning, but The Space Museum reverts to type later on and is a particularly bland example of the Doctor and his companions leading a revolution. 6/10
Cast: William Hartnell (The Doctor), William Russell (Ian Chesterton), Jacqueline Hill (Barbara Wright), Maureen O’Brien (Vicki), Peter Sanders (Sita), Peter Craze (Dako), Bill Starkey (Third Xeron), Richard Shaw (Lobos), Jeremy Bulloch (Tor), Salvin Stewart (Morok Messenger), Peter Diamond (Morok Technician), Peter Diamond (Morok Guard), Ken Norris (Morok Guard), Salvin Stewart (Morok Guard), Ivor Salter (Morok Commander), Michael Gordon, Edward Granville, Bill Starkey and David Wolliscroft (Xerons), Billy Cornelius (Morok Guard), Peter Hawkins (Dalek Voice) & Murphy Grumbar (Dalek Operator)
Writer: Glyn Johns
Director: Mervyn Pinfield
Parts: 4 (The Space Museum, The Dimensions of Time, The Search & The Final Phase)
Behind the Scenes
- The working titles of The Space Museum and The Final Phase were The Four Dimensions of Time and Zone Seven respectively.
- The Dalek shell in the first part marks the final appearance of the original Dalek prop until The Magician’s Apprentice. The new model that appears in the final part does not have the metal band.
- William Hartnell does not appear in The Search as he was on holiday. It was during production of this serial that Jacqueline Hill decided to leave.
- Production of this story coincided with production of the feature film Dr Who and the Daleks.
- This is the only story that Mervyn Pinfield directed by himself rather than sharing directorial duties.
- Writer Glyn Jones was dismayed by script editor Dennis Spooner’s editing, which he felt removed all the humour from the story.
- All the incidental music in this story was stock music.
Cast Notes
- Peter Craze was the younger brother of Michael Craze, who would go on to play companion Ben Jackson and brother-in-law to Edwina Craze, who was production assistant and assistant floor manager on a number of Doctor Who stories.
- Jeremy Bulloch would go on to appear as Hal the Archer in The Time Warrior. He was also considered as a potential companion to join the Third Doctor and Sarah Jane Smith following this story, something which producer Barry Letts mentioned to Bulloch but was not actively pursued. Bulloch is best known for being the actor inside the Boba Fett armour.
- Richard Shaw would go on to play Cross in Frontier in Space and Lakh in Underworld.
- Peter Diamond had previously appeared as Delos in The Romans, and would go on to appear in The Highlanders and The Ice Warriors. He was a fight arranger credited on the programme between The Dalek Invasion of Earth and The Daemons.
- Ivor Salter would go on to appear in The Myth Makers and Black Orchid.
- Billy Cornelius had a number of small roles in early Doctor Who, both credited and uncredited, including playing a double for Kal in An Unearthly Child and a man-at-arms in The Crusade.
Best Moment
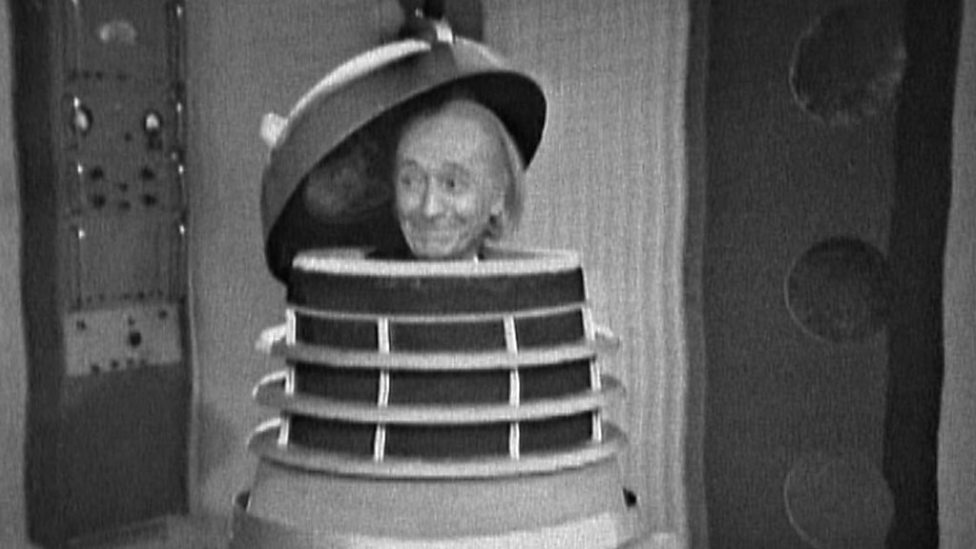
It’s got to be the Doctor’s glee at being able to hide inside the Dalek casing. It is a moment of humour which is much needed in the latter stages of this story.
Best Quote
Doctor, why do you show the greatest interest in the least important things?
The least important things, sometimes, my boy, lead to the greatest discoveries.
Ian Chesterton and the First Doctor
Previous First Doctor review: The Crusade

One thought on “The Space Museum”